


 Reviews
 My Account
 Contact Us
 Help
Help
How to Make Beautiful Hand-Painted Watercolor Christmas Cards?
Creating hand-painted watercolor Christmas cards is a delightful and meaningful way to spread holiday cheer. These one-of-a-kind cards let your creativity shine and add a personal touch that store-bought cards just can’t match. Whether you're a seasoned artist or trying watercolor for the first time, this step-by-step guide will walk you through the process of making beautiful, heartfelt holiday cards your loved ones will cherish.
Gathering Your Materials
Before you begin painting, gather all the essentials. Having everything ready helps you stay in the creative flow and makes the experience more fun and stress-free.
When selecting materials, think about the look and feel you want your cards to have. For example, if you want vibrant colors and long-lasting results, investing in high-quality watercolor paints is well worth it. The right brushes can also make a big difference—soft brushes are great for blending and washes, while firmer ones help create crisp, clean details.
Don’t forget about your workspace! A well-lit, cozy corner with your supplies organized can spark inspiration and make painting feel like a treat instead of a task.
Essential Supplies:
-
Watercolor paper: Choose thick, heavy-weight paper (at least 140 lb) that can handle water.
-
Watercolor paints: A basic pan or tube set is perfect.
-
Brushes: A mix of round and flat brushes gives you more flexibility.
-
Pencil: For lightly sketching your design before painting.
-
Palette: To mix and dilute your colors.
-
Water container: For rinsing brushes and adding water.
-
Paper towels: Great for blotting and brush cleaning.
Optional But Fun:
-
Masking tape: To hold down your paper and create crisp edges.
-
White gel pen: Perfect for snowflakes or delicate highlights.
-
Gold or silver paint: Adds an elegant, festive shimmer.
-
Sketchbook: To test ideas and practice before diving into your final piece.
-
Spray bottle: Keeps your paints moist during longer sessions.
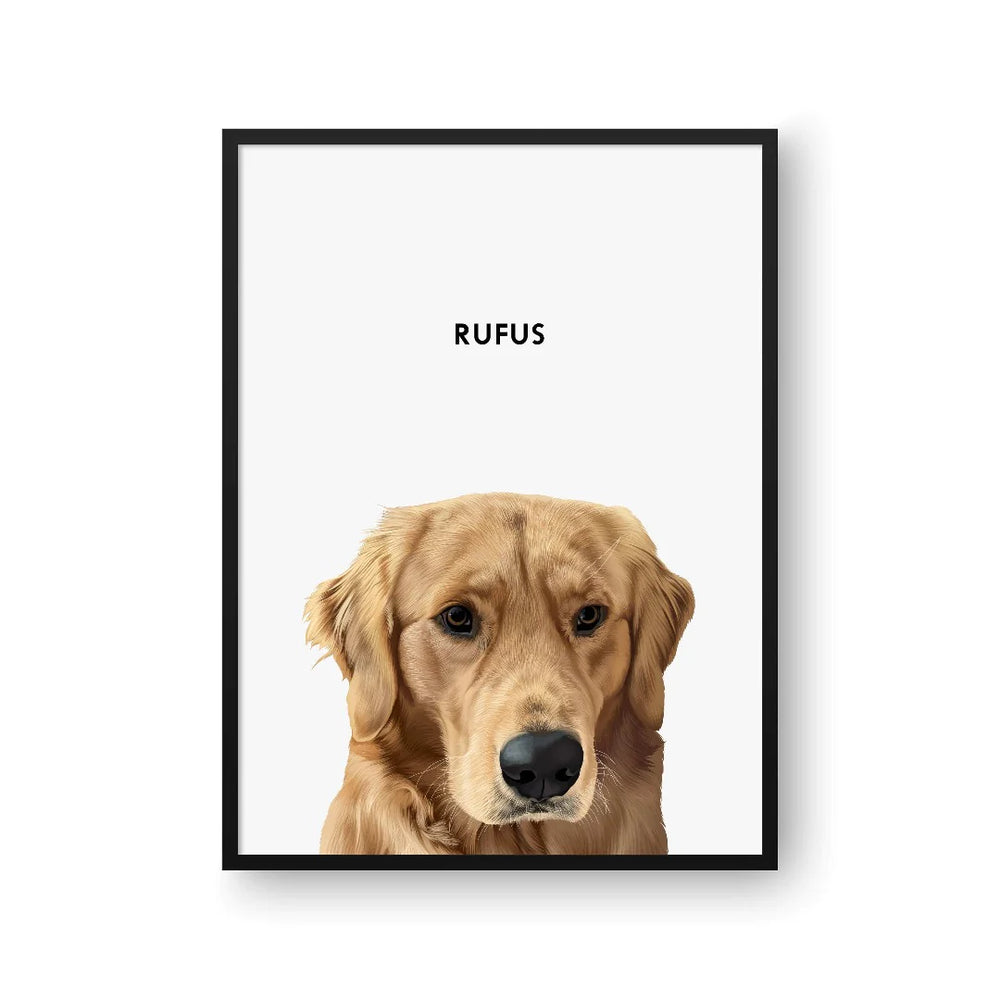
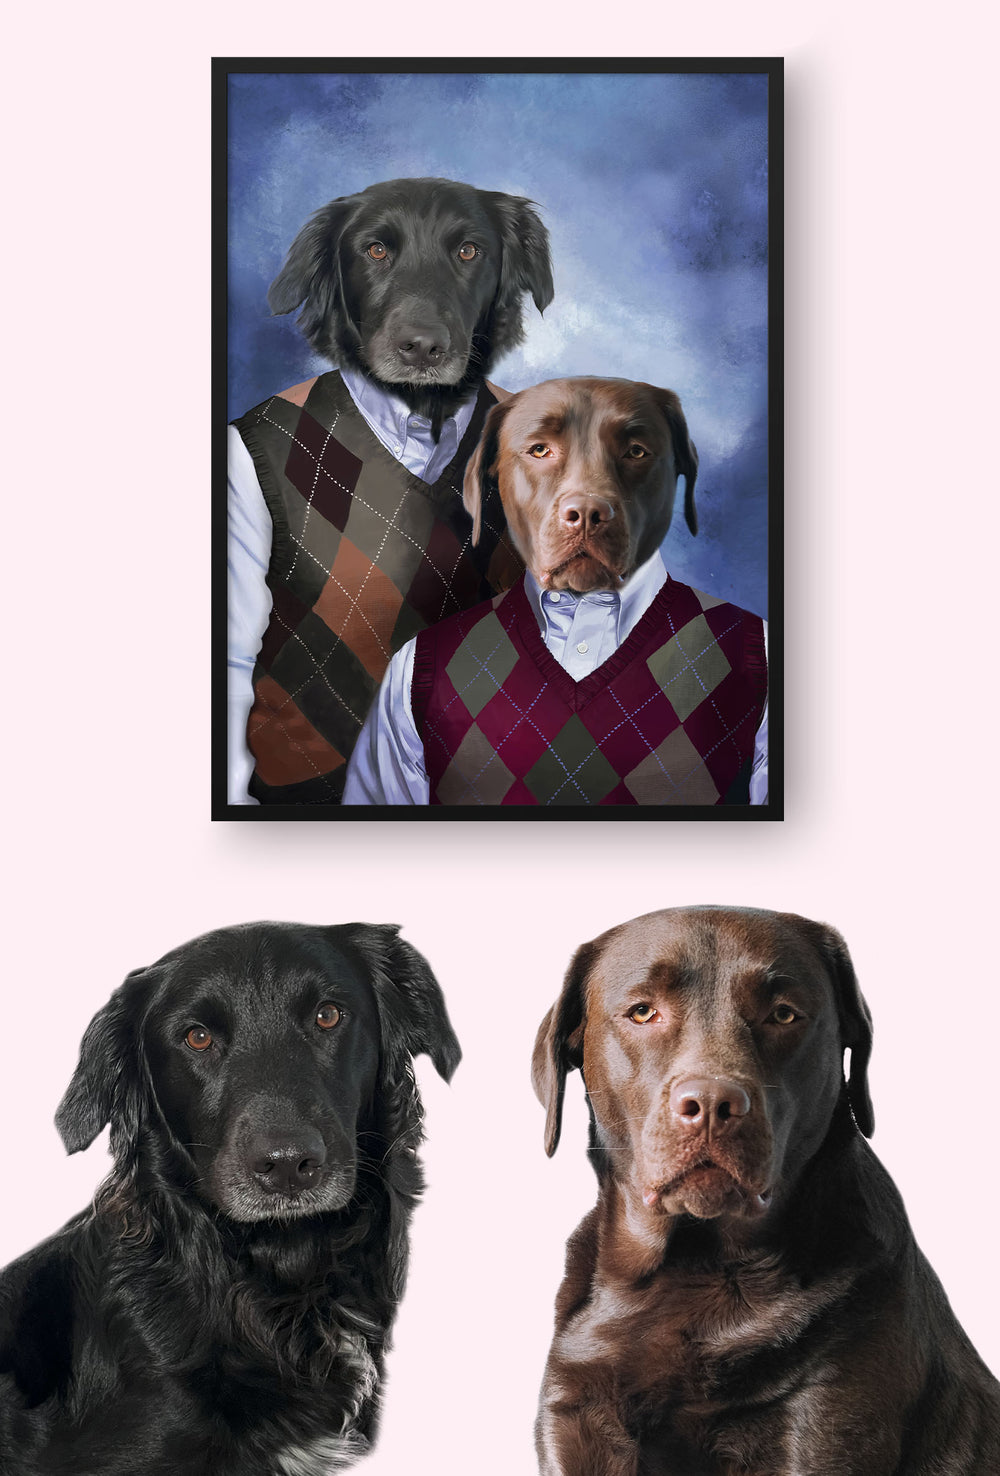
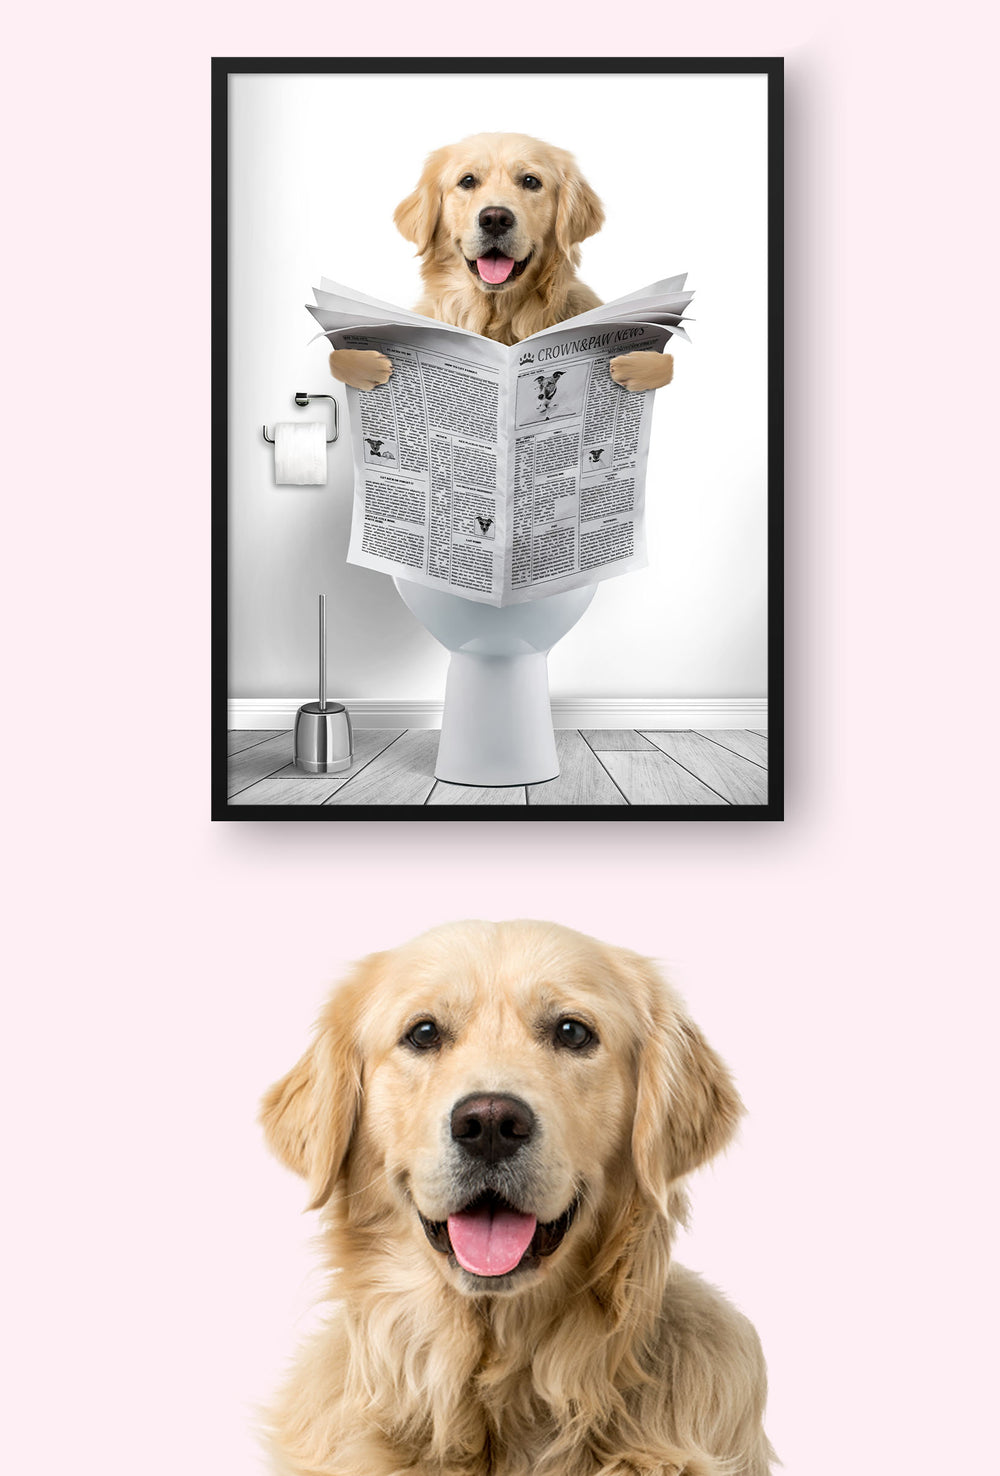
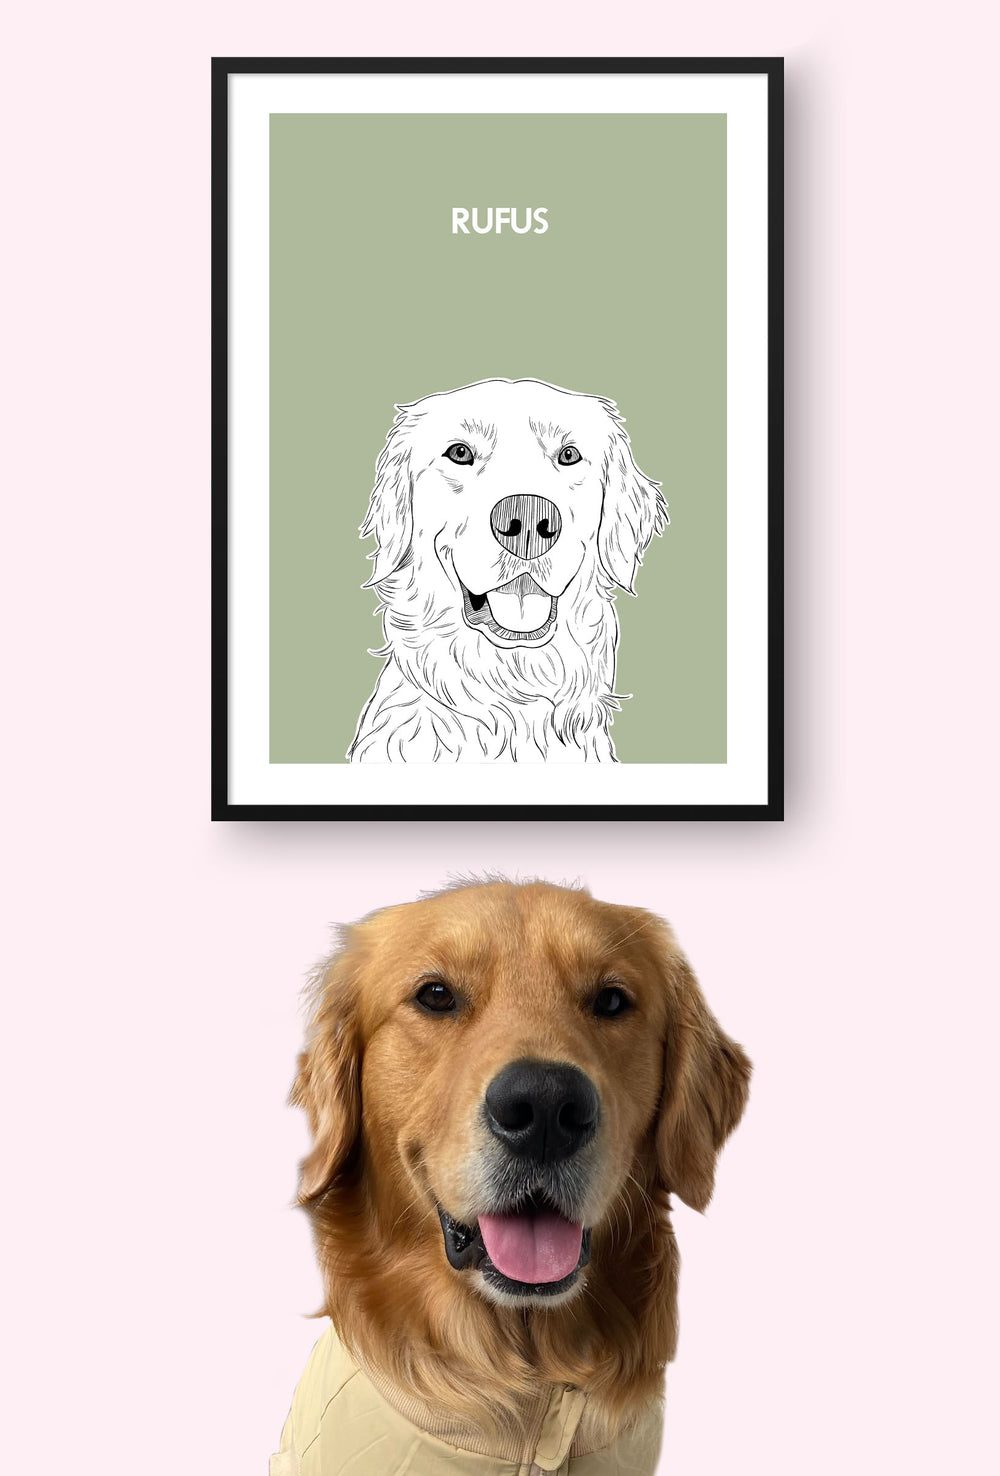
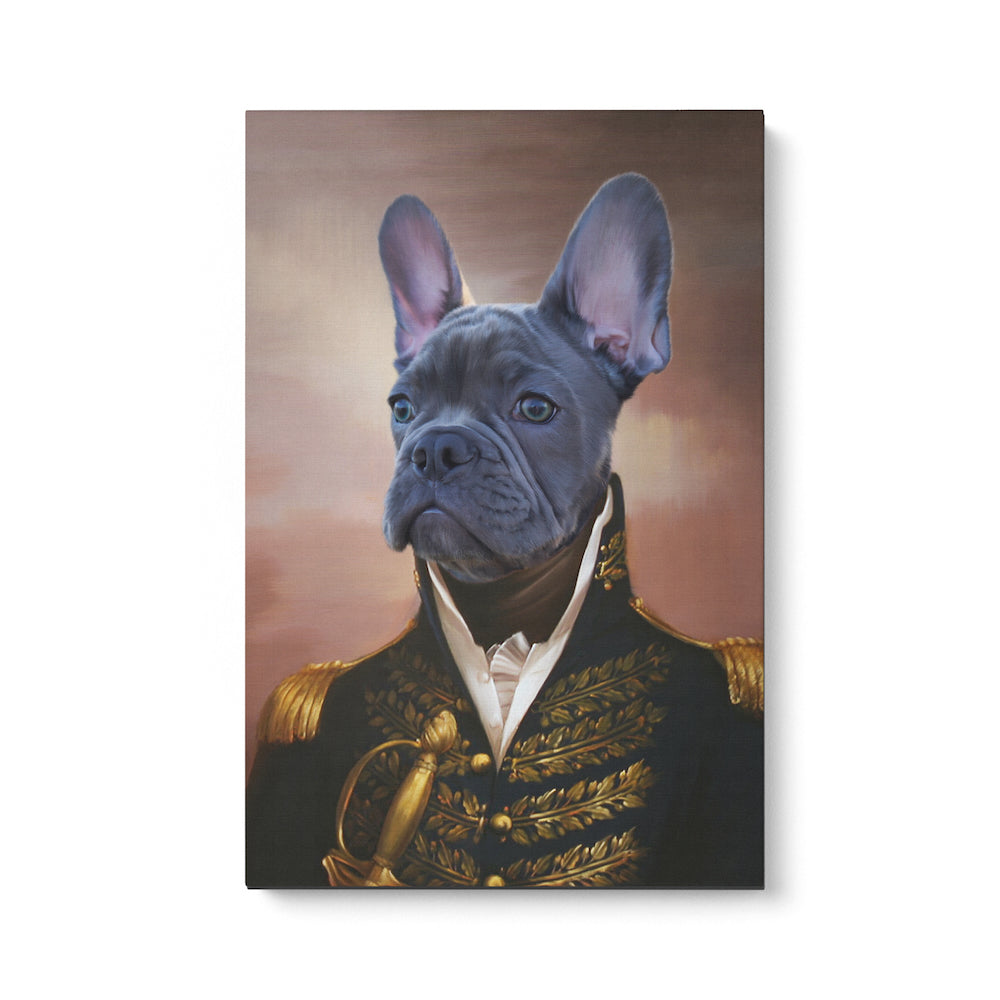
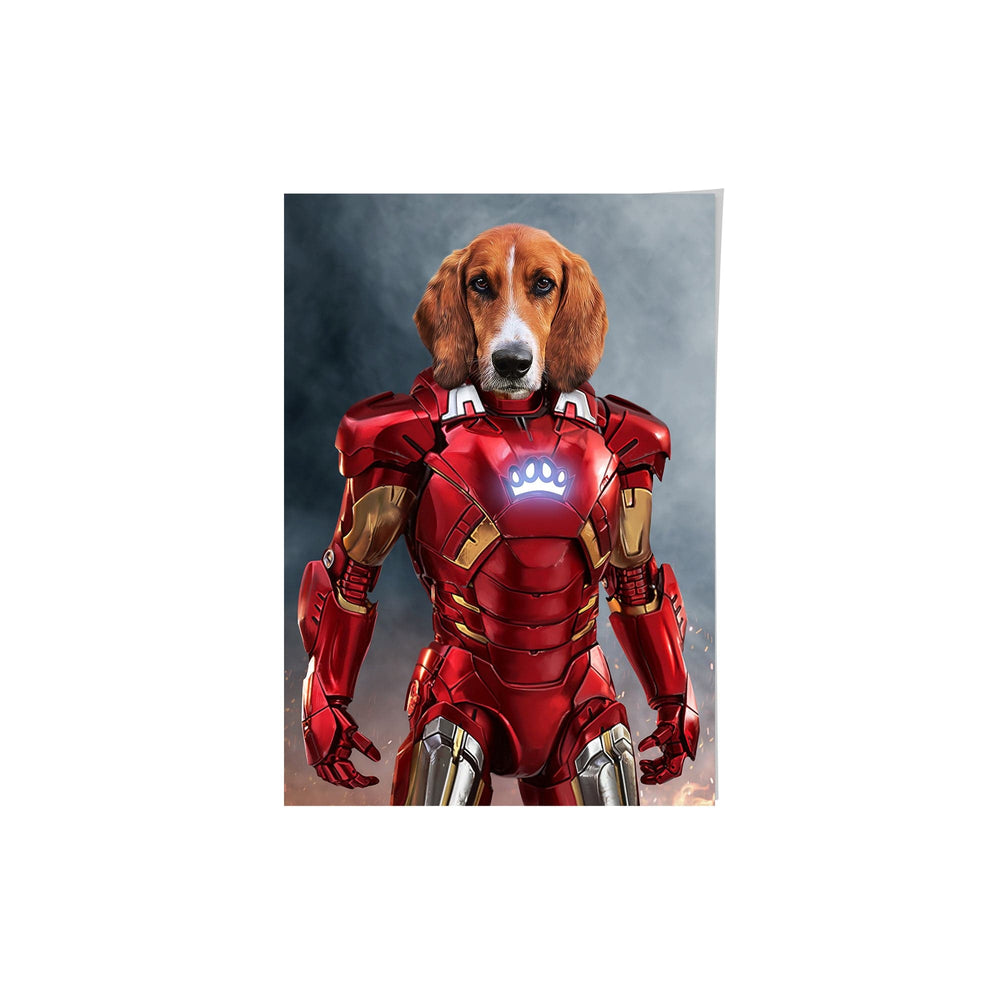
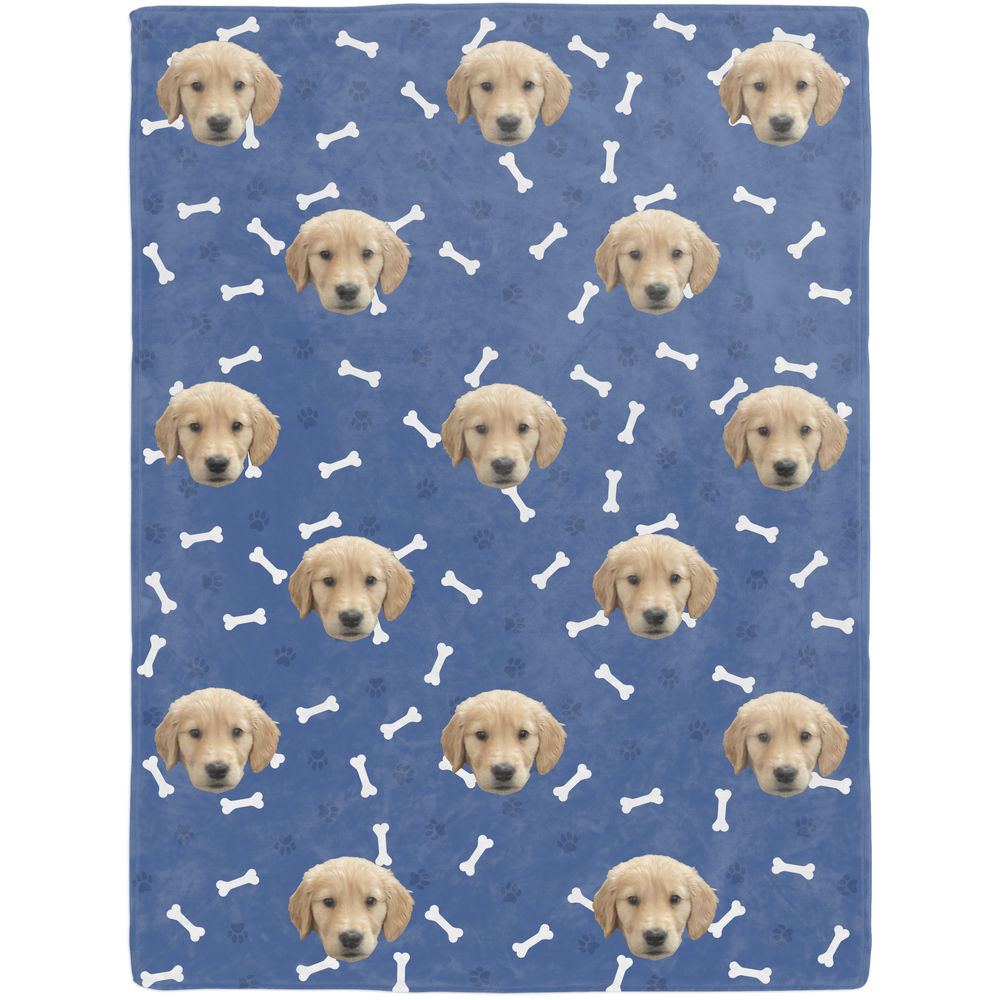
For extra inspiration, browse through sites like Crown & Paw—their custom pet portraits might even spark ideas for whimsical card designs featuring furry friends in festive gear!
Choosing Your Design
Your design sets the tone for the entire card. It should reflect the joy of the season and your unique style. A thoughtful design can transform a simple card into a heartfelt keepsake.
Popular Holiday Themes:
-
Winter landscapes: Think snowy forests, starry skies, and cozy cabins.
-
Christmas ornaments: Bright baubles, twinkling lights, and festive garlands.
-
Holiday symbols: Christmas trees, wreaths, reindeer, or nativity scenes.
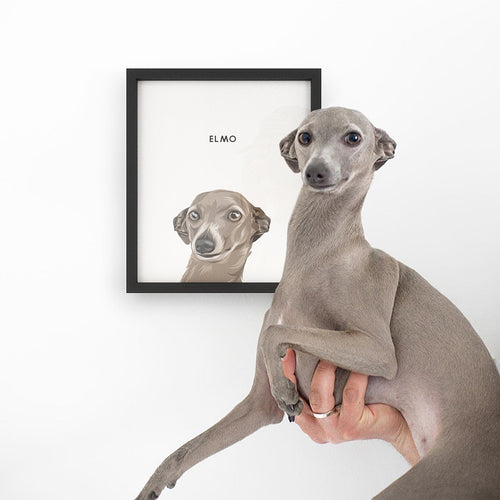
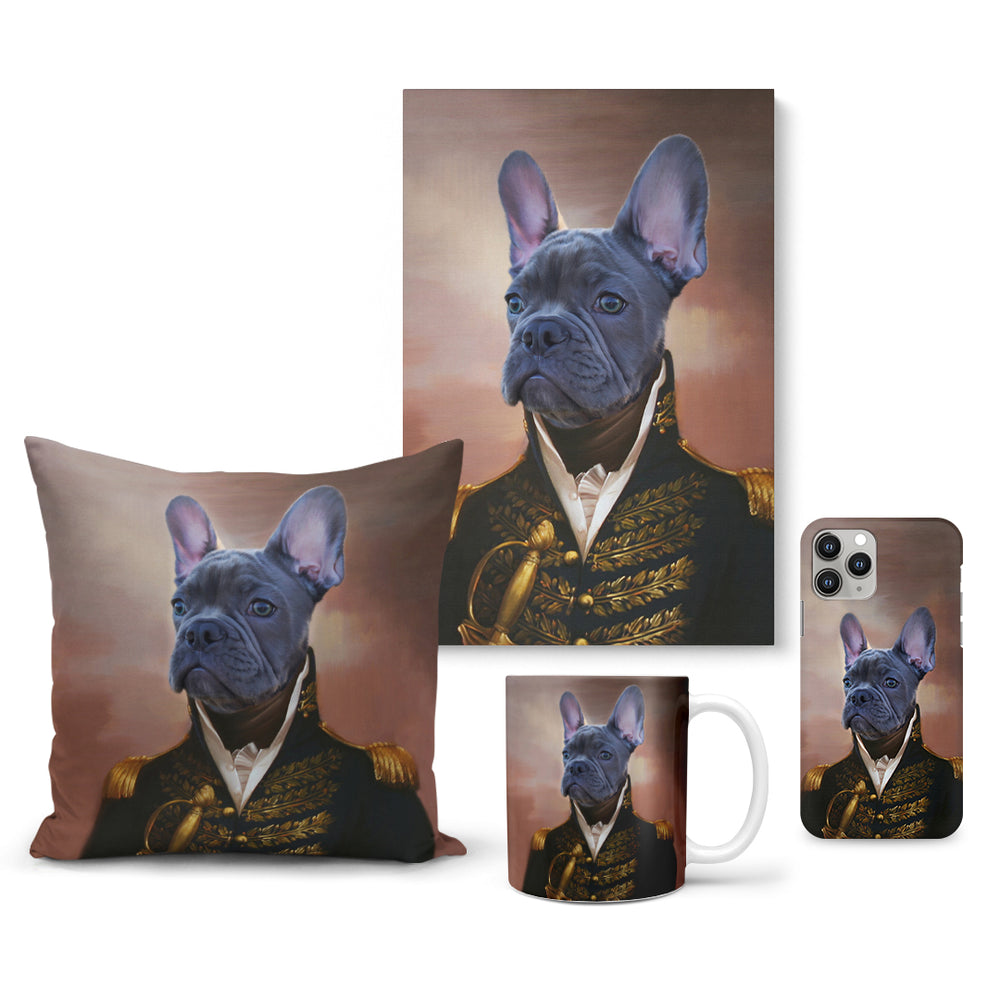
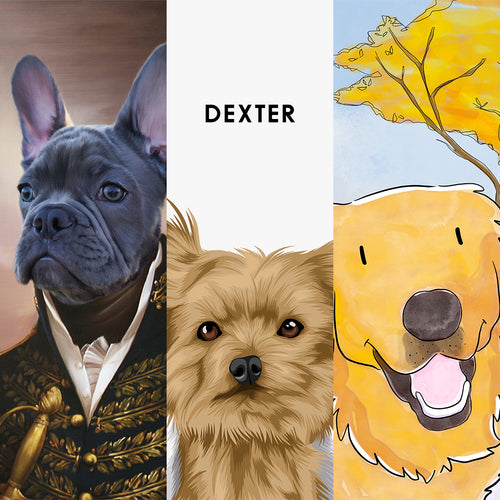
Or get playful with animals in holiday attire—imagine a watercolor of a cat in a Santa hat or a dog tangled in lights! (A perfect tie-in if you’ve ever ordered custom art from Crown & Paw!)
Sketching Your Design
Once a theme is chosen, sketching the design lightly with a pencil on watercolor paper is the next step. This allows for adjustments before committing to paint. Take your time during this phase; it’s an opportunity to experiment with different layouts and styles without the pressure of permanence.
Focus on composition and balance, ensuring that the elements of the design are well-distributed across the card. Remember to leave space for any text or greetings you may want to include later. You might also want to consider incorporating a border or decorative elements that complement your theme, such as holly leaves or snowflakes, to frame your artwork beautifully. This attention to detail can elevate your card from simple to stunning, making it a true reflection of your creativity and holiday spirit.
Mastering Watercolor Techniques
Understanding watercolor techniques is essential to achieving beautiful results. Different methods can create various textures and effects that enhance the overall appearance of the card. Watercolor painting is not just about applying color; it's about manipulating water and pigment to create a harmonious blend that captures the viewer's attention.
Basic Techniques
-
Wet-on-wet: Applying wet paint onto wet paper creates soft edges and blends colors seamlessly. This technique is particularly effective for creating backgrounds or skies, where a gentle gradient is desired.
-
Wet-on-dry: Applying wet paint onto dry paper allows for sharper edges and more defined shapes. This method is ideal for adding details to your artwork, such as the intricate patterns found in flowers or the crisp lines of architectural elements.
-
Dry brush: Using a dry brush with minimal water creates texture and detail. This technique can evoke the look of rough surfaces, like tree bark or rocky landscapes, adding an element of realism to your piece.
Layering Colors
Layering is a fundamental aspect of watercolor painting. Start with lighter colors and gradually build up to darker shades. This technique adds depth and dimension to the artwork. Each layer can interact with the previous one, creating a rich tapestry of color that draws the eye.
Allow each layer to dry before adding the next to prevent colors from muddying. Patience is key in achieving vibrant results. Additionally, experimenting with transparent and opaque pigments can yield fascinating effects; transparent layers allow underlying colors to shine through, while opaque layers can create bold statements. Understanding how to balance these qualities will elevate your watercolor skills and enable you to express your artistic vision more effectively.
Painting Your Christmas Cards
With the design sketched and techniques understood, it’s time to bring the card to life with paint. This is where creativity truly shines.
Starting with the Background
Begin by painting the background, as it sets the tone for the entire card. Whether it’s a soft blue sky or a warm golden glow, the background should complement the main elements.
Utilize the wet-on-wet technique for a smooth gradient or the wet-on-dry technique for more defined shapes. Experiment with different colors to find the perfect backdrop. You might even consider incorporating subtle textures, such as a light wash to mimic snowflakes gently falling or a hint of sparkle with metallic paints, which can add a magical touch to your winter scene. Don’t shy away from layering colors; a deeper hue at the edges can create depth and draw the eye toward the focal point of your design.
Adding Main Elements
Once the background is dry, focus on painting the main elements of the design. This could be a beautifully decorated Christmas tree, a festive wreath, or a cozy cabin.
Use varying brush sizes to create details, and don’t hesitate to mix colors for unique shades. Adding shadows and highlights will enhance the three-dimensional feel of the elements. Consider the light source in your composition; for instance, if your light is coming from the left, the right side of your tree should have deeper shadows, while the left side can be illuminated with brighter colors. Additionally, think about incorporating small details like ornaments on the tree or a warm glow from the cabin windows, which can evoke a sense of warmth and nostalgia, making your card even more inviting and personal.
Finishing Touches
Add Detail & Embellishments
Use a fine brush or gel pen to add snowflakes, stars, or even delicate patterns. Embellishments like glitter, metallic paint, or even small gems can add festive flair.
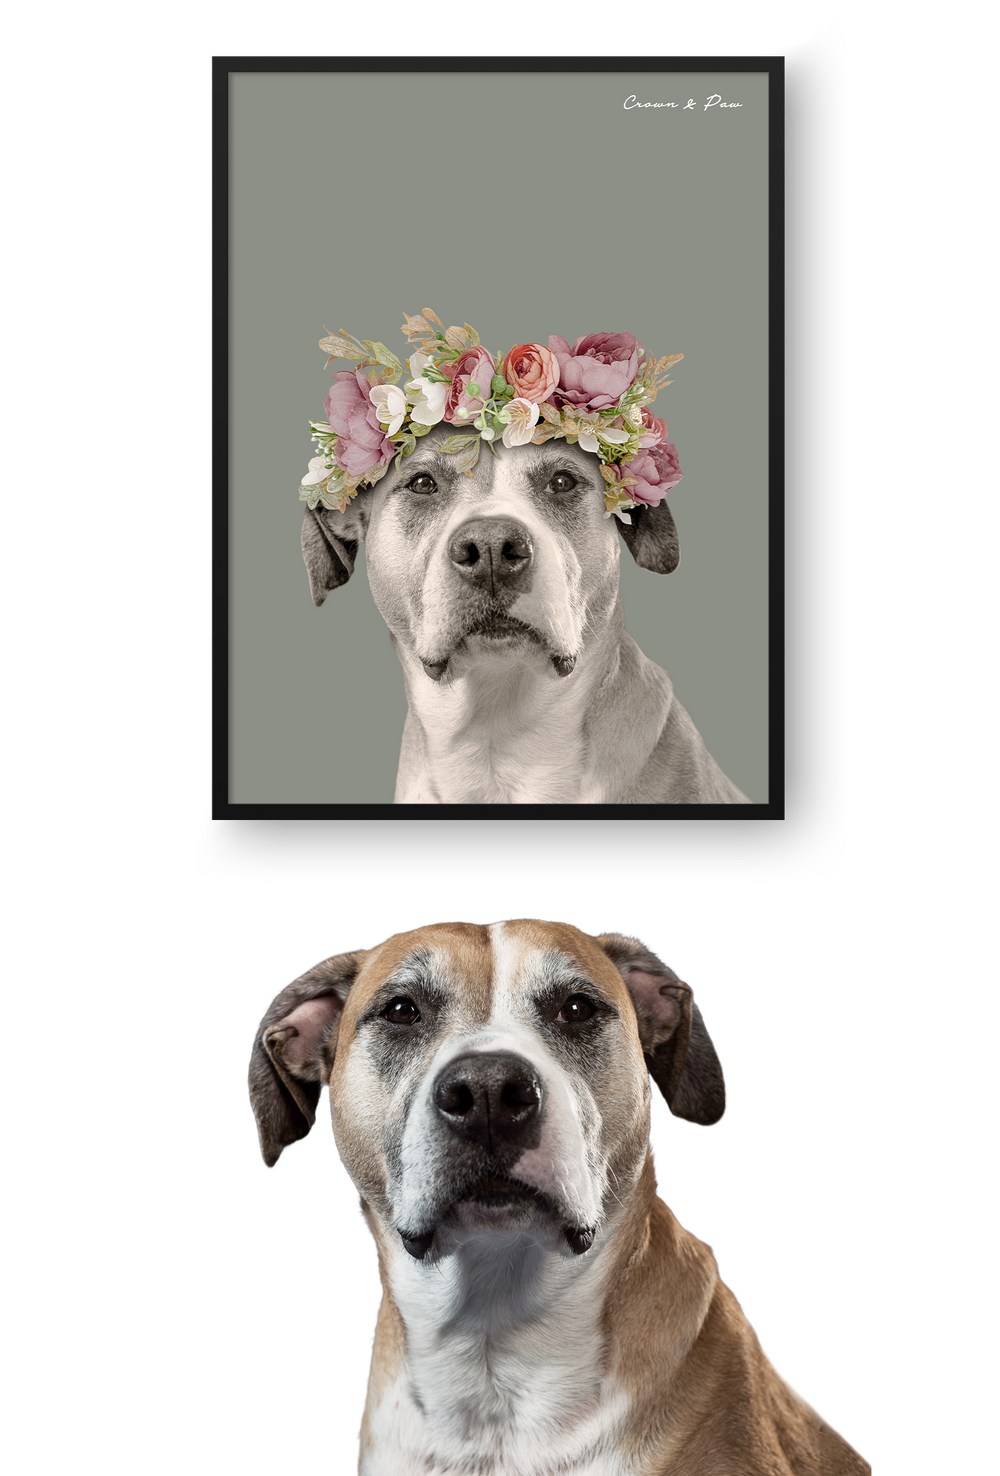
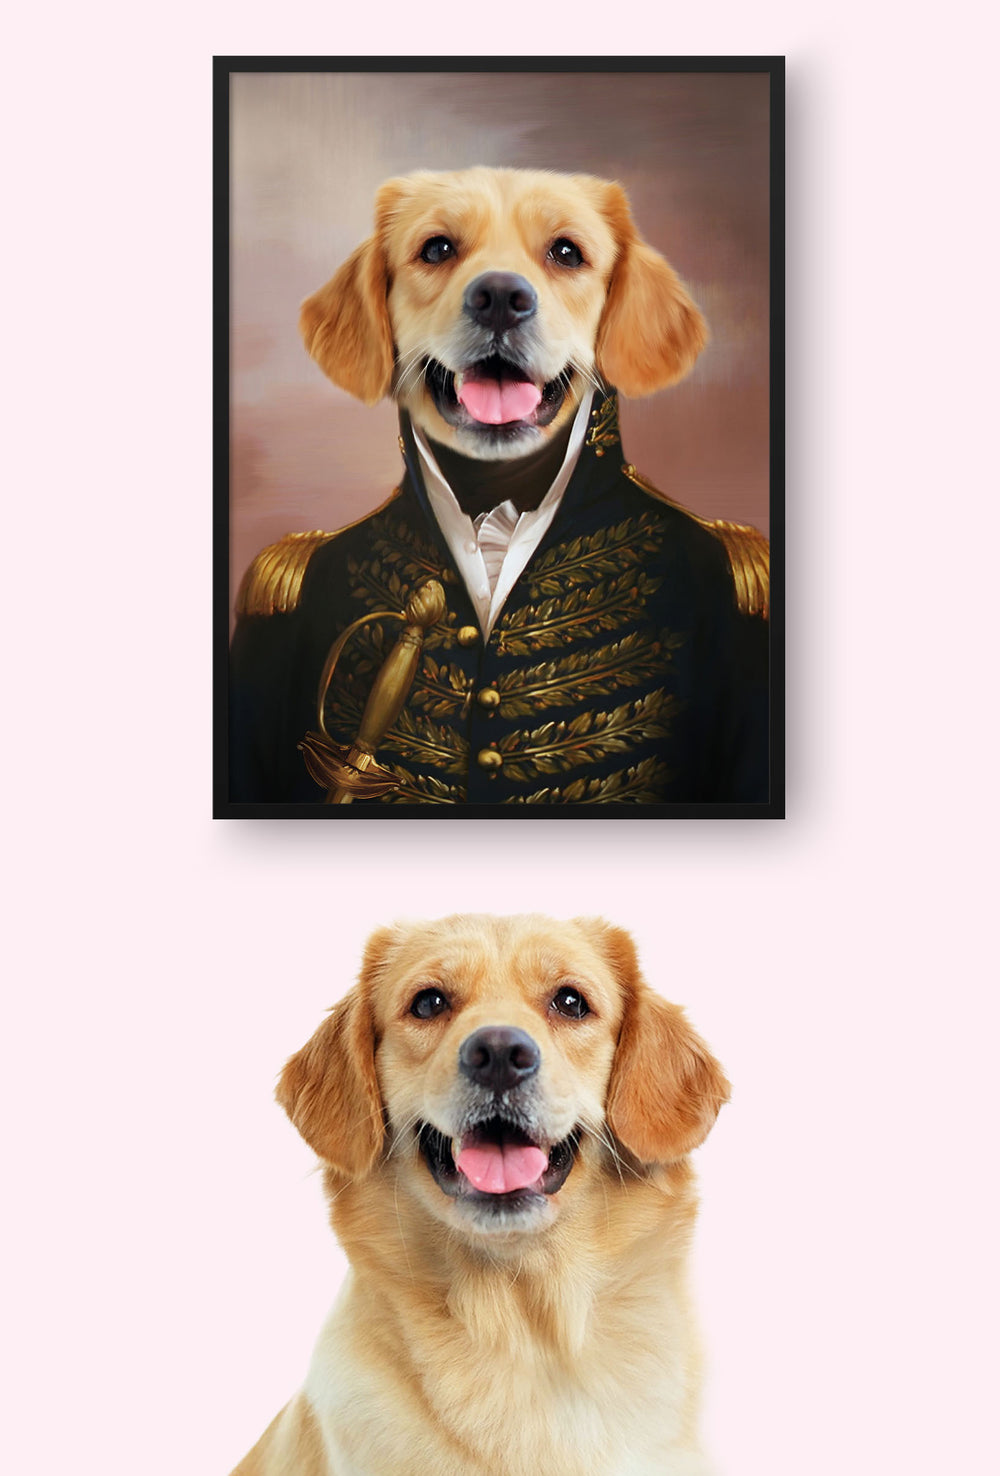
For something extra special, consider adding a mini photo or a tiny printed pet portrait from Crown & Paw for that adorable, personal touch!
Write Your Message
Once everything’s dry, write a warm message inside. A fine-tip pen or calligraphy marker makes the greeting look polished. Add a quote, memory, or heartfelt note—it’s your chance to make the recipient smile.
Packaging and Sending Your Cards
Now that the cards are beautifully painted and personalized, it’s time to prepare them for sending. Proper packaging ensures that the cards arrive in perfect condition.
Choosing Envelopes
Select envelopes that fit your cards snugly. Consider using colored envelopes that match the theme of your cards for an added touch of creativity. If your cards feature whimsical designs, you might opt for envelopes with fun patterns or textures that complement the artwork. This not only enhances the visual appeal but also adds an element of surprise for the recipient when they open their mailbox.
For an extra special presentation, consider sealing the envelopes with decorative stickers or washi tape. You could also include a small note or a personalized message inside the envelope, which can make the experience even more memorable for the recipient. Using a unique stamp that reflects the theme of your card can also elevate the overall presentation and show that you put thought into every detail.
Mailing Your Cards
When mailing, ensure that the cards are protected from bending or damage. Placing them between cardboard or using rigid mailers can help maintain their shape. Additionally, consider wrapping the cards in tissue paper before placing them in the envelope for an added layer of protection and a touch of elegance. This simple step can make the unboxing experience feel more special and thoughtful.
Be mindful of postage requirements, especially if the cards are thicker due to embellishments. It’s best to check with the postal service to avoid any surprises. You might also want to explore different mailing options, such as express or priority shipping, to ensure your cards arrive on time for special occasions. Remember to track your shipment if possible, so you can confirm that your beautifully crafted cards reach their destination safely and promptly.

Tips for Success
Creating beautiful hand-painted watercolor Christmas cards can be a rewarding experience. Here are some tips to ensure success:
Practice Makes Perfect
If you’re new to watercolor painting, practice on scrap paper before working on the actual cards. This will help you become familiar with the medium and build confidence.
Embrace Imperfection
Watercolor is known for its fluidity and unpredictability. Embrace any imperfections as part of the charm of hand-painted art. Each card will be unique, reflecting your personal touch.
Take Your Time
Rushing through the process can lead to mistakes. Take your time to enjoy each step, from sketching to painting to writing your message. The more relaxed you are, the more enjoyable the experience will be.
Conclusion
Hand-painted watercolor Christmas cards are more than just greetings—they’re works of art infused with love and care. With a few simple materials and a little creativity, you can create cards that will be treasured for years to come.
Whether you’re painting snowy scenes or pet portraits with Santa hats (hello Crown & Paw inspiration!), take your time, enjoy the process, and share the joy. After all, the holiday spirit shines brightest in the details made by hand and from the heart.